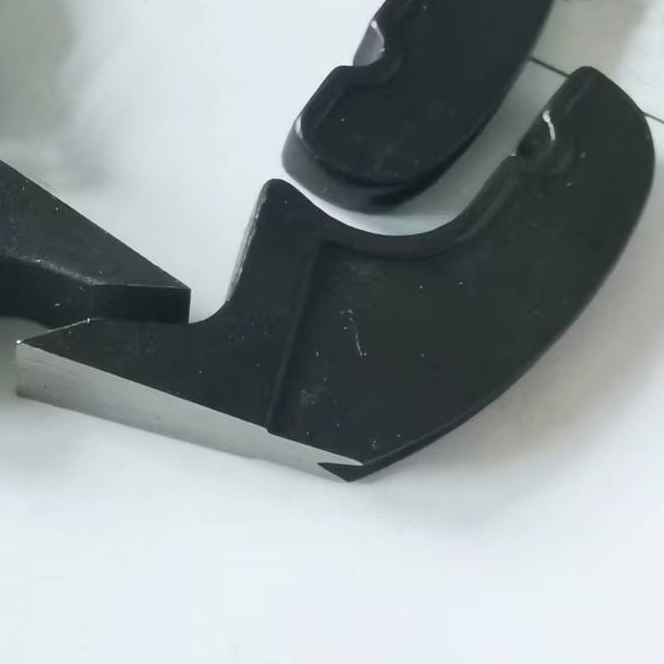
Sawmill Replacement Teeth DIY: Ensuring Efficient Woodworking
Sawmills play a crucial role in the lumber industry, extracting valuable timber from logs for various construction and manufacturing purposes. To maintain smooth operations and maximize productivity, it is essential to keep the sawmill’s cutting machinery in optimal condition. One critical component that requires regular maintenance and replacement is the sawmill teeth. In this article, we will explore the importance of DIY sawmill replacement teeth and provide some useful tips for ensuring efficient woodworking.
1. Understanding the Importance of Sawmill Teeth
Sawmill teeth are the cutting tools responsible for transforming logs into usable timber. Over time, these teeth wear out due to constant friction and contact with hard materials. Dull or damaged teeth can result in reduced cutting performance, lower productivity, and increased energy consumption. Regularly replacing sawmill teeth ensures efficient cutting, reduces downtime, and extends the lifespan of the entire sawmill system.
2. DIY Sawmill Teeth Replacement
Replacing sawmill teeth can be a costly endeavor if outsourced to professionals. However, with a DIY approach, sawmill owners can save money and have better control over the process. Here are some steps to follow for a successful DIY replacement:
a. Prepare the Necessary Tools: Before starting the replacement, gather all the required tools, such as a wrench, pliers, a hammer, and replacement teeth. Ensure that the replacement teeth are of high quality and compatible with the sawmill’s specifications.
b. Remove the Old Teeth: Carefully remove the worn-out or damaged teeth from the sawmill. Use appropriate tools to loosen and extract them, taking care not to damage the surrounding components.
c. Clean and Inspect: Thoroughly clean the area where the teeth were removed to remove any debris or residue. Inspect the surrounding components for signs of damage or excessive wear. Address any issues before proceeding with the replacement.
d. Install the New Teeth: Follow the manufacturer’s instructions to install the new teeth correctly. Use the provided tools or recommended techniques to ensure a secure and precise fit.
e. Test and Adjust: After the replacement, conduct initial testing to ensure proper alignment and functionality. Make any necessary adjustments to achieve optimal cutting performance.
3. Maintenance and Longevity
Regular maintenance is crucial for prolonging the lifespan of sawmill teeth. Here are some additional tips to consider:
a. Lubrication: Proper lubrication helps reduce friction and wear on the teeth. Apply lubricants recommended by the sawmill manufacturer at regular intervals.
b. Inspection: Regularly inspect the sawmill teeth for signs of wear, damage, or misalignment. Promptly address any issues to avoid further complications.
c. Sharpening: Invest in a quality tooth-sharpening tool or seek professional sharpening services to maintain sharp sawmill teeth. Sharp teeth result in cleaner cuts, reduced energy consumption, and improved productivity.
d. Storage: When not in use, store the sawmill teeth in a clean and dry environment to prevent corrosion or damage.
In conclusion, DIY sawmill replacement teeth are essential for maintaining efficient woodworking operations. By understanding the importance of sawmill teeth, following proper replacement procedures, and implementing regular maintenance practices, sawmill owners can ensure smooth operations and maximize productivity. Remember, the key to success lies in careful attention to detail and consistent upkeep of the machinery.

